Documentation Index
Fetch the complete documentation index at: https://support.norentech.arcroblox.work/llms.txt
Use this file to discover all available pages before exploring further.
This setup guide is only for supported versions. This guide does not apply to older versions that fall below the minimum version.
Our recommended setup
In this section, we’ll guide you to set up your system with our recommended setup. Our recommended setup uses:- 1x Card Reader (DWProx/Card Reader Pro | optional)
- 1x LPR camera
- 1x Flex Gate (Normal/Folding)
- 1x Welcome Screen (optional)
Position your Flex Gate
Position your Flex Gate to the left side of the lane like the picture below. To learn how to scale your gate, refer to the Scaling your gates section.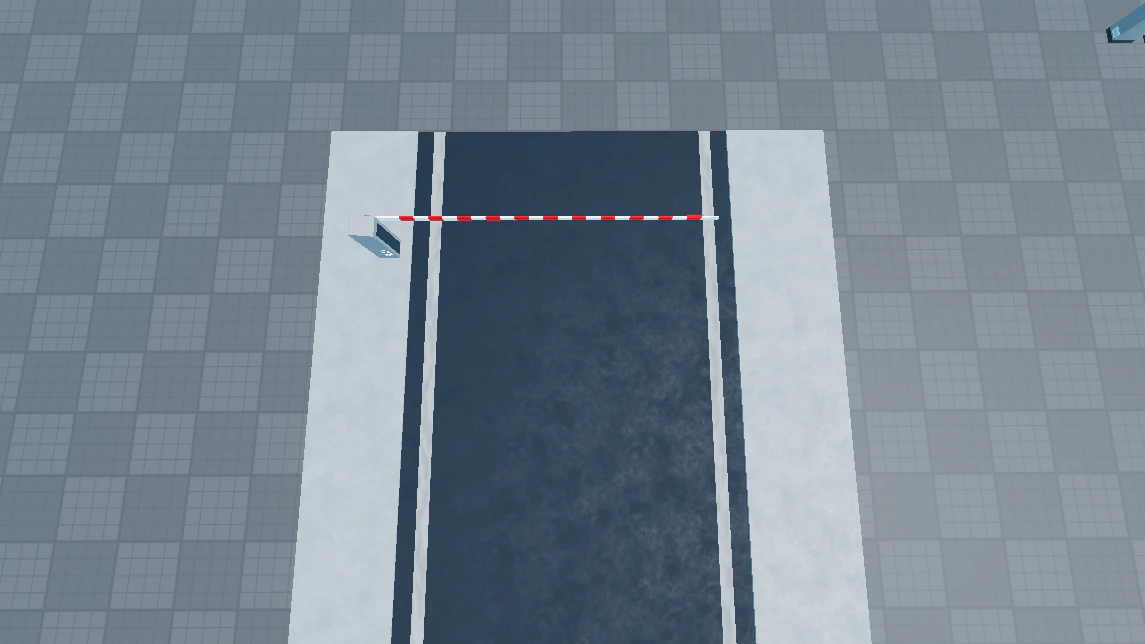
Position your Welcome Screen
If you are not using a Welcome Screen, skip this step.Position your Welcome Screen in front of your Flex Gate’s hub and rotate it to face the driver when they approach. Your setup should now look like the picture below.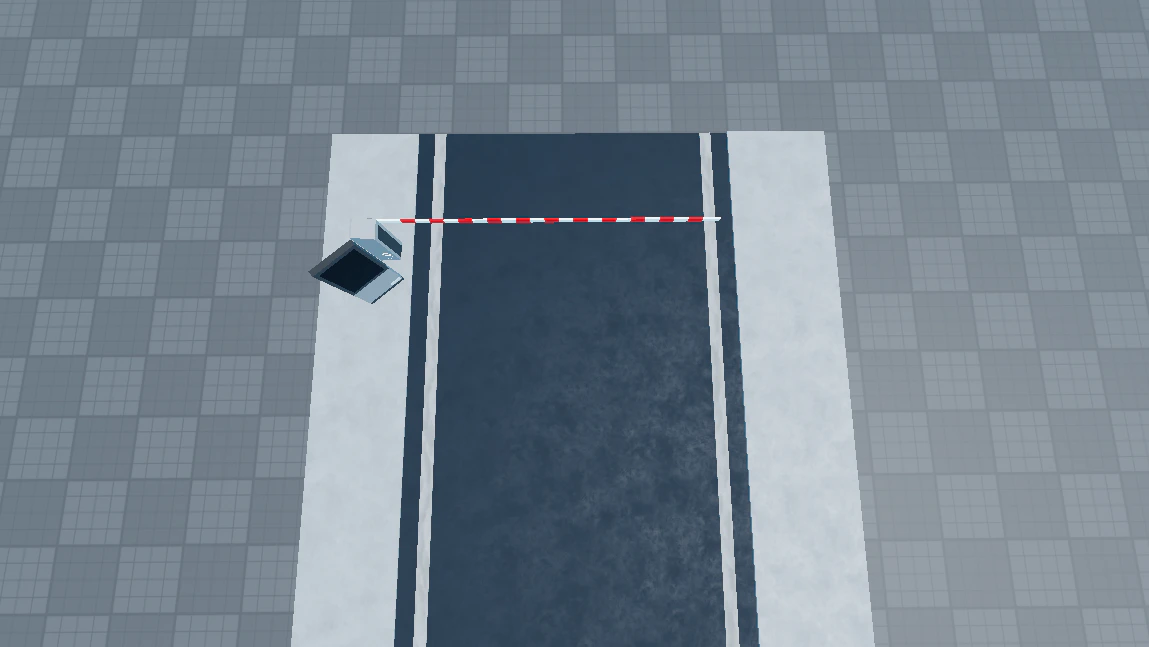
Position your LPR camera
Position your LPR camera next to your Welcome Screen (if any) and ensure that it is not blocking the driver’s view of the Welcome Screen.After positioning your LPR camera, move and scale the 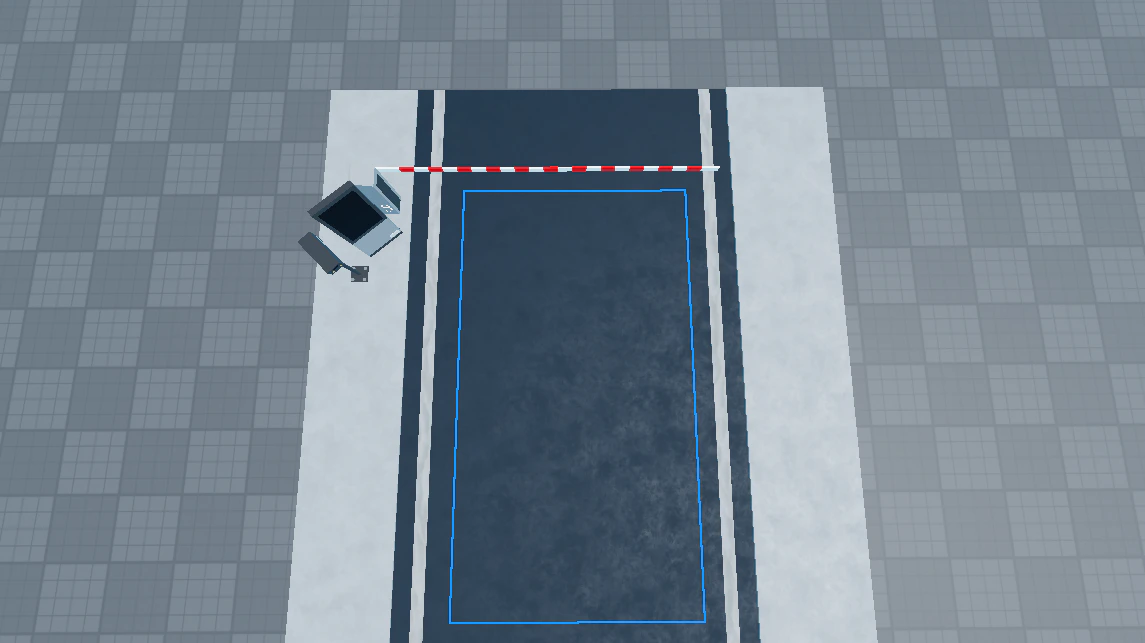
DetectionArea part to the center of your lane and in front of your Flex Gate’s barrier.Your setup should now look like the picture below where the blue box is the detection area.Position your card reader
Position the Card Reader to the left side of the lane and rotate it to face the driver’s window. If you’re using a Welcome Screen, ensure that the driver’s view of the Welcome Screen isn’t blocked. Optionally, also keep it out of the LPR camera’s view to keep it realistic.Your setup should now look like the picture below.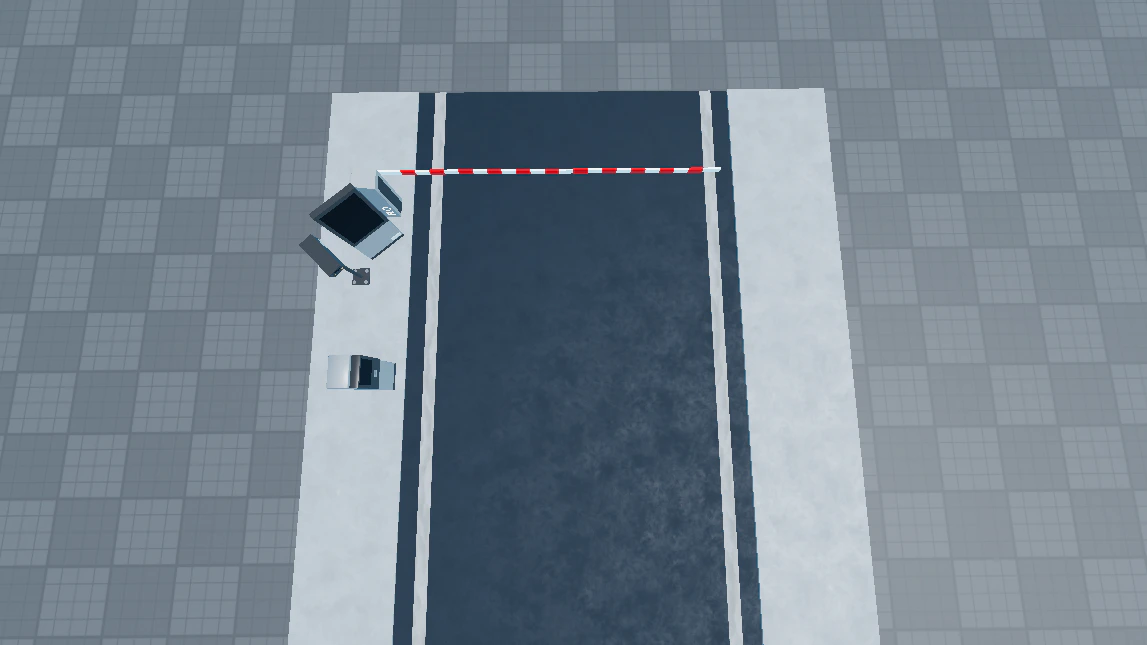
Scaling your gates
This section may be difficult to understand. Please take your time to understand the what the step asks you to do.
Flex Gate
Folding Flex Gate
Flex Gate
To scale your Flex Gate, follow the step-by-step guide below.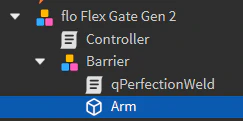
Folding Flex Gate
To scale your Folding Flex Gate, follow the step-by-step guide below.Move the folding arm
Select the 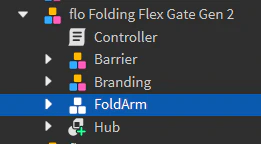
FoldArm model in the Flex Gate, then move it until the grey attachment is positioned in the mid-point of your desired length.Scale the folding arm
Select the
Arm part in the Flex Gate under the FoldArm model and scale it until it reaches the end of your desired length.Scale the arm
Select the 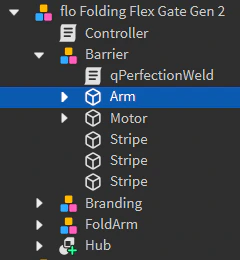
Arm part in the Flex Gate under the Barrier model and scale it until it reaches the center of the grey attachment.
Authorization function
Noren does not provide any scripting-related assistance for this configuration. If you suspect that there is a bug with this function, you can contact us to report it.
Authorization.
The Authorization function can be customized to tell the system whether to open or not open any Flex Gates in the zone to allow a Player to enter.
To open the gate: